
By Carolyn Tragasz. Carolyn was a Water & Energy Community Specialist at BTG.
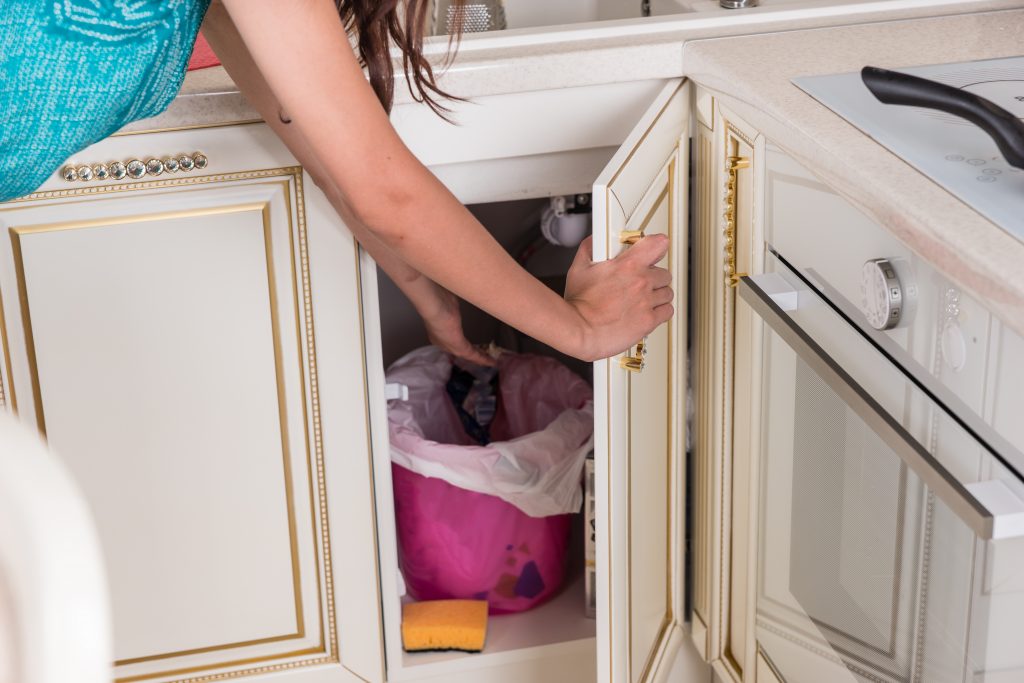
When was the last time you went into your basement and really took a good look around? How about the last time you pulled stuff out from under your kitchen sink or opened your utility closet? Do you have a dripping faucet or a running toilet you’ve been putting off getting fixed? A do-it-yourself visual leak inspection could help you identify ways to cut down your water bill and save!
What is a Visual Leak Inspection?
A visual leak inspection is a systemic examination of how a home is currently using water, focused on identifying current leaks and water waste issues. Think of it like a non-invasive checkup for your home’s plumbing and water systems.
To perform one, you don’t have to be a plumber or get into your walls. Simply walk around you home and stop anywhere you can access where water is being used. Check each area to ensure that everything you see is in good condition and working properly. Take note of any concerns that you find, and then (this is the important part!) make an action plan for addressing any issues you uncover.
How Do I Get Started?
First, make a commitment. Decide when you are going to perform your inspection and set aside a dedicated chunk of time- you’re going to need 30-45 minutes, depending on the size of your home.
Next, gather your supplies. You’ll want to grab a flashlight and pencil and paper to document observations as you go. (Your phone works too, just be careful about getting it wet!) You’ll also need to acquire dye tabs (available on request from KC Water’s customer service) or food coloring to check for toilet leaks.
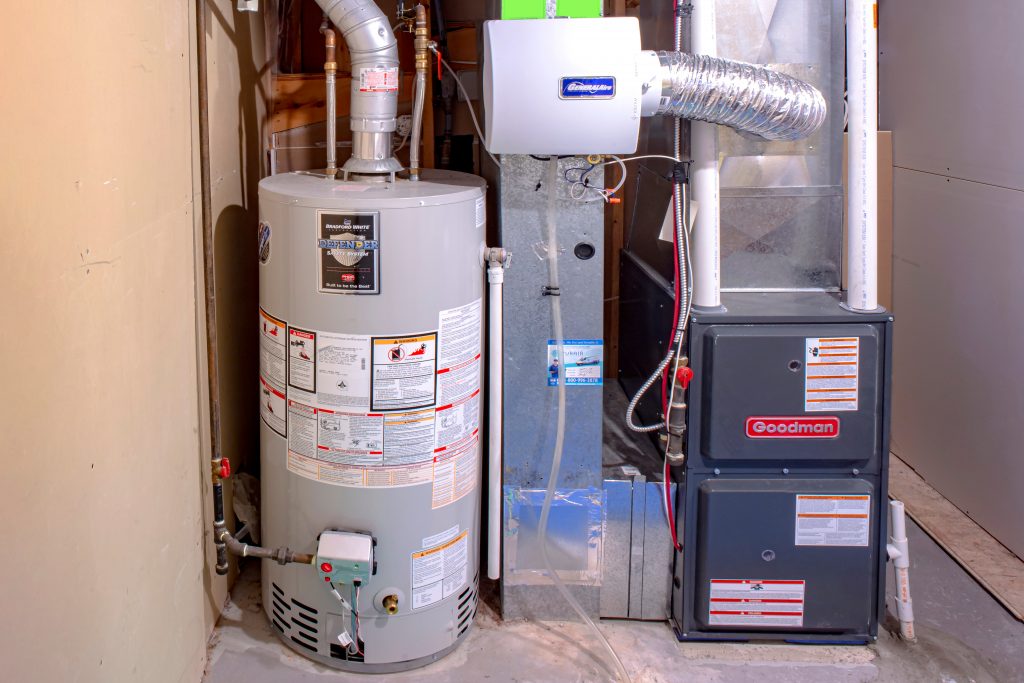
Before you start walking around, list the areas where you are using water in your home and map out a route. Don’t forget about less-visited spots like hot water heaters and sprinkler systems! For beginner-friendly planning resources, and ideas on what do to if you find a leak, check out these guides for an indoor and an outdoor inspection from the Arizona Municipal Water Users Association and the EPA.
Conducting Your Inspection
As you walk around, adopt the perspective of an objective observer. Think of yourself as leak detective, looking for clues like puddles, drips, stains, unusual sounds, and signs of water damage. Consider both the large-scale picture (ceilings to floors) and the smaller details (the ice maker in your fridge).
Try to be curious and non-judgmental of anything you come across. If you don’t know what something is, do some googling, take a picture, or make a note to come back to it later. And remember, if you find a leak, that means you’re doing it right!
Take your time, be safety conscious, and please, be patient and loving with yourself while conducting your examination.
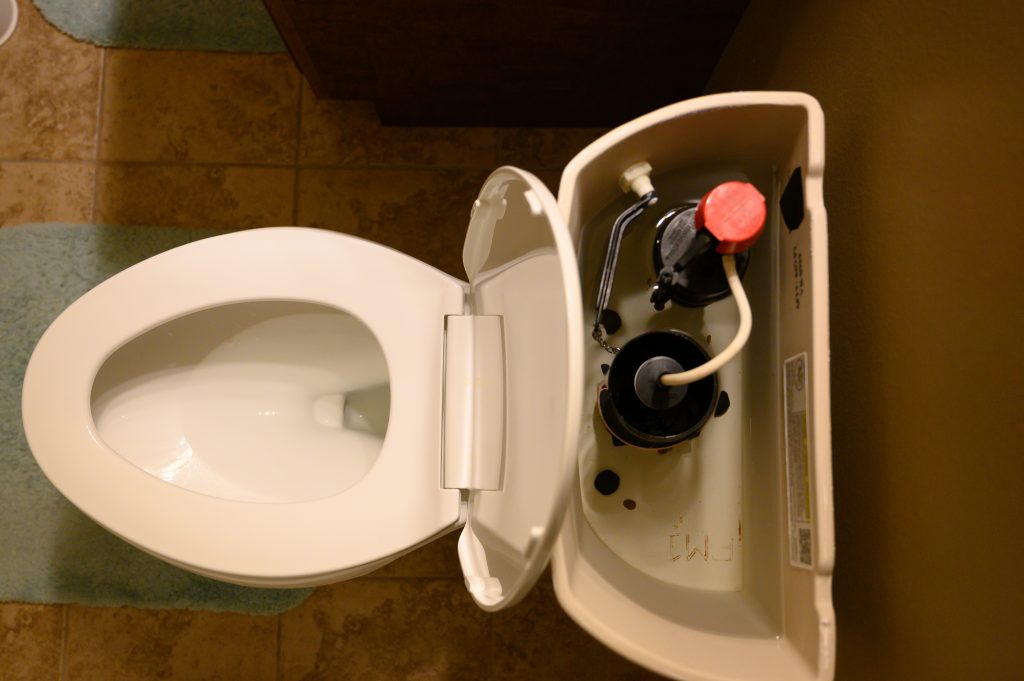
Pay Extra Attention To Your Toilets
Leaking toilets are a common cause of high water bills, so they deserve a little extra TLC. To perform a visual leak inspection of your toilet:
- Examine the outside of the toilet. Is it sitting level? Is there water puddling around it? Can you hear the toilet running when you enter the bathroom, or see water moving in the bowl?
- Carefully take the lid off, and check to see if there is a date stamped on the inside of the lid or back of the tank. If your toilet was manufactured before 1994 you might consider upgrading to a new water-efficient model or installing a toilet tank bank as part of your follow-up plan.
- Flush the toilet and look in the back of the tank. Does it stop running? Is there any loose debris in the tank? Is the flapper closing properly? Are any parts spraying water or dripping?
- Perform a dye test. For best results, the toilet should not be running when you perform the test and the toilet water should not have any cleaning solution in it.
- Record your observations, then move on to the next stop on your list. Don’t forget go back and check the results of the dye test!
Final Steps and Follow Up
Once you’re finished walking around your home, take a moment to pause and appreciate yourself and your hard work. Then, when you’re ready, look through your notes and decide what actions you want to take based off the information you gathered. You might:
-Research your plumbing issues online
-Visit a hardware store
-Perform repairs yourself, if you feel comfortable doing so
-Make a trip to the library for help with your research
-Call a handyman, plumber, or other service professional
-Ask friends or family members to help you perform some tasks
-Add some future repair needs and upgrades into your budget
-Reach out to community assistance agencies or the water department
-Schedule your next leak inspection on the calendar
For bonus points and bragging rights, you could also
- Install WaterSense certified conservation devices around your home:
- Perform a DIY home energy audit to address energy leaks in your home:
Taking stock of how your home’s water systems are functioning can help you save on your current water bills and prevent minor issues from becoming unexpected major expenses. Thanks for taking the time to show some love to your home, your planet, and your community by being a good steward of our shared common resource, water.